English
 русский
 Español
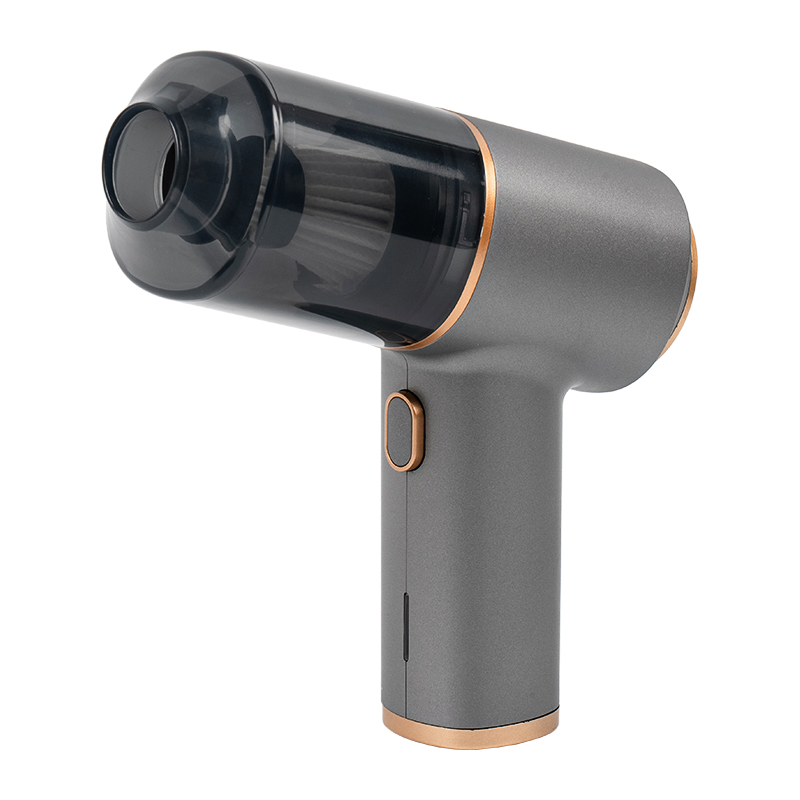
RT-8822 Mini 7.4V Handhold car portable vacuum cleaner powered by an 18650 lithium-ion battery—available in various capacity options—this unit operates at a 7.4V working voltage, ensuring stable and ...
See DetailsIndustry News 2026/10/29
How to Inflate Car Tires Correctly: PSI Targets, Tools, and a 4-Minute Method
Content
- 1 The Only Number That Matters Is on the Door Jamb
- 2 What "Cold" Really Means, and Why Warm Tires Read High
- 3 The Tools: A Gauge You Trust and Something That Moves Air
- 4 Inflating a Tire, Step by Step
- 5 How Much Air, How Fast: Practical Numbers
- 6 What Underinflation and Overinflation Actually Cost You
- 7 Seasonal Checks: Winter, Summer and Everything Between
- 8 Valve Stems, Caps, Leaks and the Things That Go Wrong
- 9 Nitrogen, Air and Whether It Matters
- 10 Choosing a Portable Inflator That Will Not Disappoint You
- 11 If You Are Buying Inflators in Volume
- 12 A Four-Minute Routine Worth Keeping
What follows is the practical version: where the correct pressure lives, what "cold" means in real conditions, which tools are worth carrying, the step-by-step sequence, and the buying criteria that separate a portable inflator you keep for ten years from one that overheats on its second use.
The Only Number That Matters Is on the Door Jamb
Start with the vehicle, not the tire. The correct cold inflation pressure for your car is printed on a placard usually found on the driver's door jamb, sometimes on the fuel filler door, and always in the owner's manual. That placard gives a front and rear figure for normal load and often a second, higher set of figures for full load.
The big embossed number on the tire sidewall is not that figure. Something like "MAX LOAD 615 kg AT 350 kPa (51 PSI)" tells you the ceiling the tire can hold at its maximum rated load. It is a limit, not a recommendation. Filling a 32 psi passenger car tire to 51 psi because that is what the sidewall says will cost you ride comfort, center-tread life and, in wet conditions, grip. The reverse mistake is just as common: using the number from a previous car, or from a forum post about a different trim level with different wheels.
| Location | Typical format | What it actually tells you | Watch out for |
|---|---|---|---|
| Driver's door jamb placard | "32 PSI front / 32 PSI rear" plus a full-load row | Vehicle-specific cold pressure for normal and loaded driving | Worn, painted over or missing on older cars; photograph it once |
| Fuel filler door | Small chart or "see owner's manual" | Sometimes repeats the placard, sometimes adds full-load values | Not fitted on every model |
| Owner's manual | Table by engine, trim and wheel size | The most complete source, including the spare | It is the book in the glovebox, not a downloaded version for another market |
| Tire sidewall | "MAX ... AT 350 kPa (51 PSI)" | The tire's load ceiling, not your target | Using it as a normal setting overinflates the tire |
| Dashboard TPMS display | Individual corner readings | A convenient trend check between manual checks | Sensors drift, read low in cold weather, and typically work within roughly 1 to 2 psi |
Two practical notes. First, if your car has a space-saver spare, its pressure is often far higher than the road tires, commonly around 60 psi, and it loses air sitting in the well for years. Check it twice a year. Second, if you have changed wheel or tire size from stock, the original placard is a starting point rather than a final answer; a tire shop can confirm a sensible cold figure for the new combination based on load capacity.
What "Cold" Really Means, and Why Warm Tires Read High
Tire pressure specifications assume the tire has not been driven. In practice, "cold" means the car has sat for at least three hours, or has been driven less than about a mile since it last sat. A tire that has just completed twenty minutes of highway driving can read 3 to 5 psi above its cold value, and on a hot day with sustained speed the gap can reach 6 psi. That is normal behavior, not a problem, and it is why you should never bleed a warm tire down to the placard number. Do that and the tire will be several psi low by the next cold morning.
The rule of thumb worth memorizing is roughly 1 psi for every 10 degrees Fahrenheit of ambient temperature change, or about 0.1 bar per 5 to 6 degrees Celsius. A tire set to 35 psi in a 68 degree shop will read around 30 psi on a 20 degree morning, and the dashboard light may well come on legitimately. This is also why the first cold snap of the season produces a wave of warning lights across entire parking lots.
| Ambient temperature | Change from 68 F baseline | Expected gauge reading |
|---|---|---|
| 100 F | About plus 3 psi | About 38 psi |
| 86 F | About plus 2 psi | About 37 psi |
| 68 F | Baseline | 35 psi |
| 50 F | About minus 2 psi | About 33 psi |
| 32 F | About minus 4 psi | About 31 psi |
| 14 F | About minus 5 psi | About 30 psi |
| Minus 4 F | About minus 7 psi | About 28 psi |
There is one important exception to the "check cold" rule: never wait for a convenient cold morning if a tire looks visibly soft. A tire that is noticeably squatting, or that triggers the warning light and feels vague in steering, should be checked and brought up to pressure immediately, then rechecked cold the next day. Driving a severely underinflated tire for even a few miles generates enough sidewall heat to damage the carcass permanently.
The Tools: A Gauge You Trust and Something That Moves Air
The gauge matters more than the pump. Cheap pencil gauges can be off by 3 psi or more and lose accuracy after a few drops, while a basic digital gauge is usually good to about 1 psi and holds its calibration better. Whatever you use, compare it once against a second gauge, ideally a dial type at a tire shop. If the two disagree by 4 psi, you now know which one to distrust. Store the gauge in the glovebox rather than the trunk floor, where it will rattle around and go out of calibration.
Chuck design matters too. A press-on chuck needs a firm, straight push and a bit of wrist strength; a clip-on chuck locks onto the valve stem and frees both hands, which is far easier when you are crouched next to a rear wheel in the rain. Dual-head chucks fit both a standard gauge and a pump hose, which saves swapping ends.
For air supply, drivers realistically choose between four options. The station pump is free or coin-operated and everywhere, but the hose gauge is often uncalibrated and the flow rate drops off in cold weather. A 12-volt inflator that plugs into the cigarette lighter is cheap and lives in the trunk. A cordless inflator with an internal lithium battery removes the cord entirely, which matters when the only socket is in the front and the flat tire is at the rear right. A jump starter with a built-in compressor covers two failure modes, a dead battery and a soft tire, in one box.
| Air source | Power | Typical time for 10 psi | Strengths | Limits |
|---|---|---|---|---|
| Gas station pump | Mains, coin or free | 1 to 2 minutes | Available almost everywhere, no equipment to carry | Unknown gauge accuracy, queues, slow in freezing weather |
| 12V single-cylinder inflator | Cigarette socket, roughly 10 to 15 amps | 2 to 4 minutes | Inexpensive, light, enough for monthly top-ups | Cord length limits, runs hot, often 85 to 90 dB |
| 12V dual-cylinder inflator | Cigarette socket, roughly 15 to 20 amps | 1.5 to 3 minutes | Faster recovery, better for SUVs and light trucks | Heavier, draws more current, leave the engine idling |
| Cordless battery inflator | Internal lithium battery | 1.5 to 3 minutes | No cord, works anywhere near the car, often USB or Type-C charging | Battery self-discharge, reduced capacity in freezing temperatures |
| Jump starter with compressor | Internal lithium battery | 2 to 4 minutes | One device for a flat tire and a flat battery | Bulkier, onboard gauge quality varies between models |
A cordless unit is the option most drivers end up preferring once they have used one in the dark. A model such as the RT601 mini portable tire inflator, rated to 150 psi with Type-C charging, illustrates the current direction: the pump charges from the same cable as a phone, and the 150 psi ceiling leaves comfortable margin above the 32 to 39 psi most passenger cars need. Flow rate and duty cycle still matter more than the headline pressure number, which is worth understanding before buying anything.
 Compact Cordless 150 PSI Tire InflatorA Type-C rechargeable 150 PSI inflator with preset shut-off and LED light for convenient roadside top-ups on passenger car tires.View Product →
Inflating a Tire, Step by Step
The sequence below is the one to follow at a station, in a driveway or at the roadside. It assumes a normal passenger car tire that is low but not flat.
- Park clear of traffic on level ground, select Park or first gear, set the parking brake and switch on the hazard lights if you are near a road.
- If you are running a 12-volt pump from the socket, leave the engine idling so you do not drain the battery. For a cordless or hand pump, the engine can stay off.
- Unscrew the valve cap and put it in your pocket, not on the ground where it will roll under the car.
- Press the gauge straight onto the valve stem and hold for two seconds. A short hiss as you seat it is normal; a continuous hiss means it is not aligned.
- Note the reading and compare it with the placard. Write it on your hand if you are checking four tires.
- Push the pump chuck on until it seats firmly. Hold the chuck body, not the hose, and keep the hose from pulling sideways on the valve stem.
- Switch on the pump and add air in bursts of five to ten seconds, checking with the gauge between bursts. On a quick pump, five seconds can be 1 to 2 psi, so short bursts keep you from overshooting.
- Aim 1 to 2 psi above the target, then bleed down to the exact figure using the bleed button on the gauge or a brief press on the valve core.
- Refit the cap, then check the other three tires. They should be close to each other, but a 1 to 2 psi spread across a car is normal, not a fault.
- If the warning light is still on, drive for 10 to 20 minutes above roughly 25 mph so the system can relearn. Some vehicles need a menu reset or a relearn tool.
The most common field error is not pushing the chuck on far enough. The pump hisses, the gauge reads low, and the driver keeps adding air while most of it escapes past the valve. If the reading does not rise after fifteen seconds of pumping, stop, reseat the chuck and listen. The second most common error is holding the trigger down for a full minute and landing 8 psi over target, then spending another minute bleeding it out.
There are situations where you should stop rather than inflate. A bulge or bubble in the sidewall, a cut deep enough to show cords, a tire that was driven flat for any distance, a bead that has popped off the rim, or a visibly cracked alloy wheel all mean the tire needs professional attention. Inflating a damaged tire, especially an older one, is how people get hurt; never lean over the tread while the pump is running.
How Much Air, How Fast: Practical Numbers
Going from 30 to 35 psi on a typical 205/55R16 passenger tire takes roughly 20 to 40 seconds with a decent 12-volt pump, and less with a dual-cylinder unit. Going from completely flat to 35 psi is a different job: expect 5 to 10 minutes, and expect the pump body to get hot. Light-truck tires at 60 to 80 psi can take two to three times longer than a passenger tire because the volume and pressure both rise.
Two physical details explain most surprises. First, pumps lose efficiency as they heat up, so the last few psi take longer than the first few. Respect the duty cycle printed on the unit, commonly something like 10 minutes on and 10 minutes off, or you will shorten its life. Second, the gauge on a pump measures pressure relative to the surrounding air, so altitude does not change the target number in any meaningful way for a driver; 35 psi is 35 psi whether you are at sea level or 5,000 feet.
Tolerance is more forgiving than most drivers assume. Landing within 1 psi of the placard figure is excellent, and within 2 psi is fine. Regulations reflect that reality: in the United States, the tire pressure monitoring rule requires a warning by the time a tire is 25 percent below the placard pressure, which on a 32 psi tire means roughly 24 psi. By the time the light comes on, the tire has already been running soft enough to build heat and cost fuel.
What Underinflation and Overinflation Actually Cost You
A tire 10 psi low does not usually look flat. It looks slightly squat at the bottom, steers a little heavier, and runs hotter. The sidewall flexes more with every rotation, heat builds, and the shoulders wear faster than the center. Wet grip falls off before dry grip does, and stopping distances grow. Fuel economy drops as well; the commonly quoted figure is about 0.3 percent per psi across all four tires, with up to roughly 3 percent improvement from keeping them properly inflated. On a car covering 12,000 miles a year, that is small at the pump but meaningful in tire life.
Overinflation is the quieter problem. Five psi over the placard gives a firmer, noisier ride and puts more load on the center of the tread, which wears a stripe down the middle of the tire. The contact patch shrinks, so there is less rubber on the road in the wet and more vulnerability to impact damage from potholes and curb strikes. A driver chasing a fraction of a mile per gallon by running at the sidewall maximum is trading grip and tread life for a gain too small to measure reliably.
Left-to-right imbalance deserves its own mention. A 5 psi split across an axle can produce a mild pull and uneven braking, which drivers often misdiagnose as an alignment problem. If a car pulls after a tire change or a cold snap, check pressures before booking a shop visit.
Seasonal Checks: Winter, Summer and Everything Between
In winter, pressure falls with temperature, and the effect compounds: a tire that was correct in October may be 4 to 6 psi low by December without leaking at all. Check monthly through the cold months, and inflate in a cold garage rather than after a drive. Expect to top up again after a warm spell, then again when the temperature drops. Do not, however, set pressures deliberately high in autumn as "insurance" against winter; you will simply run overinflated for weeks at a time.
In summer, the opposite applies. A tire set to 35 psi cold can read 39 or 40 psi after an hour of highway driving in 95 degree heat, and that is a normal, designed-for condition. Do not bleed it. If you are leaving on a long trip with a fully loaded car, use the full-load row on the placard, which is often 3 to 4 psi above the normal figure, and add a few psi to the rear tires if you are towing.
Tires also lose roughly 1 to 2 psi per month naturally, through permeation and small temperature cycles, even when they are perfectly healthy. That single fact is the entire argument for a monthly check: over a season, doing nothing is the same as a slow leak.
Valve Stems, Caps, Leaks and the Things That Go Wrong
The valve cap is not there to hold pressure; the valve core does that. The cap keeps dirt and water out of the core, and a missing cap on a dirty wheel is a common route to a slow leak. Refit it every time, and keep a couple of spares in the glovebox.
On vehicles with direct tire pressure sensors, the valve stem contains electronics and a battery that typically lasts 7 to 10 years. Those stems are more fragile than a plain rubber stem, so avoid levering a chuck sideways against them. If a sensor stops reporting after a tire service, the stem is the first thing to check.
For any unexplained loss, a soapy water test finds the leak in under a minute. Mix a little dish soap with water, spray or brush it onto the valve, the bead area on both sides, and the tread, then watch for bubbles. Bubbles at the valve mean a core or stem issue; at the bead, a seating problem; in the tread, a puncture. If you find a screw or nail in the tread, do not pull it out. Inflate the tire, drive to a shop, and let them repair it properly.
Nitrogen, Air and Whether It Matters
Plain air is already about 78 percent nitrogen. Filling with near-pure nitrogen brings two small benefits: the gas is dry, so pressure swings with humidity are reduced, and the larger nitrogen molecule permeates through rubber slightly more slowly, so the tire holds pressure a little longer. The realistic difference is on the order of 1 psi over a year. If nitrogen is free at the shop, take it. Paying a premium for it while skipping monthly checks is a poor trade, and mixing nitrogen with air on a top-up does no harm at all.
Choosing a Portable Inflator That Will Not Disappoint You
Most inflators fail their owners in predictable ways: the hose is too short to reach a rear wheel, the onboard gauge is 3 psi optimistic, the unit overheats halfway through a truck tire, or the battery is flat because it self-discharged over six months in the trunk. A short checklist filters out nearly all of that.
- Pressure rating with margin: 100 psi is enough for passenger cars, 150 psi covers most SUVs, light trucks and trailer tires with headroom.
- Flow rate, not just maximum pressure: the liters per minute figure decides how long you stand there. A fast pump on a slow tire is still slow.
- Duty cycle: anything under about 10 minutes of continuous run time is a toy for occasional top-ups, not a roadside tool.
- Reach: a hose plus cord that comfortably reaches the furthest wheel, typically 10 feet of cord and 2 feet of hose.
- Gauge honesty: preset auto-stop is convenient, but verify the final number with a separate gauge the first few times and note the offset.
- Power strategy: a 12-volt cord never runs flat, a battery never needs a socket. Decide which failure you would rather have.
- Serviceability: replaceable fuse, standard nozzle adapters for balls and bike tires, and a chuck that can be swapped.
The engineering behind these trade-offs, from cylinder count to motor cooling, is covered in more detail in this look at how a portable tire inflator works and which features matter. In practice, three configurations cover most drivers.
For sheer speed from the car's own socket, a heavy-duty dual-cylinder 12-volt pump is hard to beat. The RT531 is a representative example: two cylinders, a 12-volt cigarette-lighter feed, and enough flow to bring an SUV tire up several psi in well under a minute of trigger time.
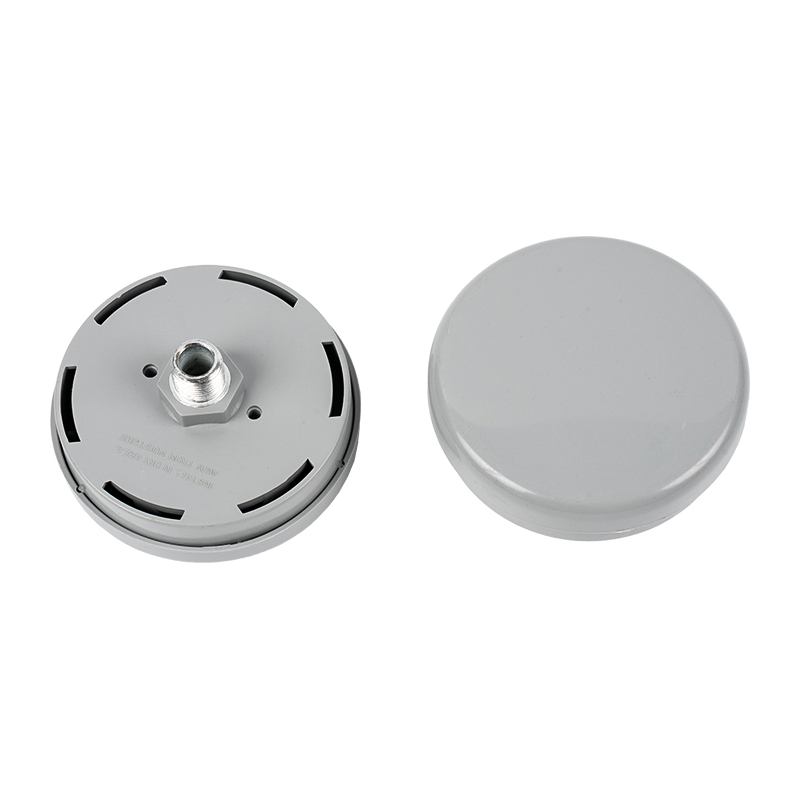 Heavy-Duty Dual-Cylinder 12V Tire InflatorA two-cylinder 12-volt pump built for fast inflation of large or high-pressure tires, suited to heavy-duty vehicle and transport use.View Product →
For one box that handles both a flat battery and a soft tire, a jump starter with an integrated compressor makes sense, particularly for drivers who travel alone or tow. A unit with tire pressure monitoring built in, such as the RT526, adds a live pressure readout during inflation, which reduces the guesswork considerably.
Jump Starter with Air Compressor and TPMSCombines 12V jump starting, tire inflation and live pressure monitoring in one unit for solo or towing drivers needing roadside backup.View Product →
Browsing the full portable tire inflator range is useful even if you already own a pump, because the specification differences between cordless, vehicle-mounted and multi-mode models are larger than the marketing language suggests.
If You Are Buying Inflators in Volume
Fleet managers, dealership service departments, insurers and gift-program buyers evaluate the same product on completely different criteria from a retail customer. The questions that decide a repeat order are usually about consistency and paperwork rather than peak pressure.
- Gauge consistency across a batch: if twenty units read 3 psi apart, the support desk absorbs the complaints.
- Certification documents: CE and FCC declarations, plus test reports, are often required before a product can be listed or imported.
- Lithium battery logistics: cordless models and jump starters need UN38.3 transport documentation and correct packaging for air freight.
- Consumables and spares: fuses, nozzle adapters, valve cores and replacement chucks determine whether a unit stays in service for years.
- Packaging and labelling: retail-ready cartons versus plain export cartons, multi-language manuals, and barcode formats.
- Warranty and returns handling: what happens with a unit that fails in month eight, and who pays the freight.
Manufacturers in the Ningbo and Yuyao industrial belt, including our own production of DC inflators, cordless inflators and jump-starter combinations, typically quote on the basis of these specifications rather than a single headline number. A buyer who arrives with a clear duty cycle requirement, a target fill time and a certification list will get a far more useful quotation than one who simply asks for "a 150 psi inflator."
A Four-Minute Routine Worth Keeping
Once a month, on a morning when the car has sat overnight, walk around it with a gauge in hand. Check all four tires plus the spare, top up in short bursts, and note any corner that has dropped noticeably more than the others, since a consistent 3 to 4 psi loss on one wheel points to a slow puncture rather than weather. While you are crouched there, look at tread depth; 2/32 of an inch is the legal minimum in the United States and 4/32 is a more sensible wet-weather limit, and run a palm across the tread to feel for uneven wear that suggests alignment or pressure problems.
Before a long trip, add the load adjustment from the placard, check the spare, and confirm the pump you carry actually works by running it for ten seconds. A pump that has sat unused for two years is a common disappointment on a hard shoulder at night. Keep the gauge where you can find it, keep the valve caps on, and treat the placard as the authority rather than the sidewall. Four minutes a month is a great deal cheaper than a tow truck, a ruined tire, or a wheel damaged by a pothole the tire could no longer absorb.
Let's Talk
Keep in touch with us
Related products
-
-
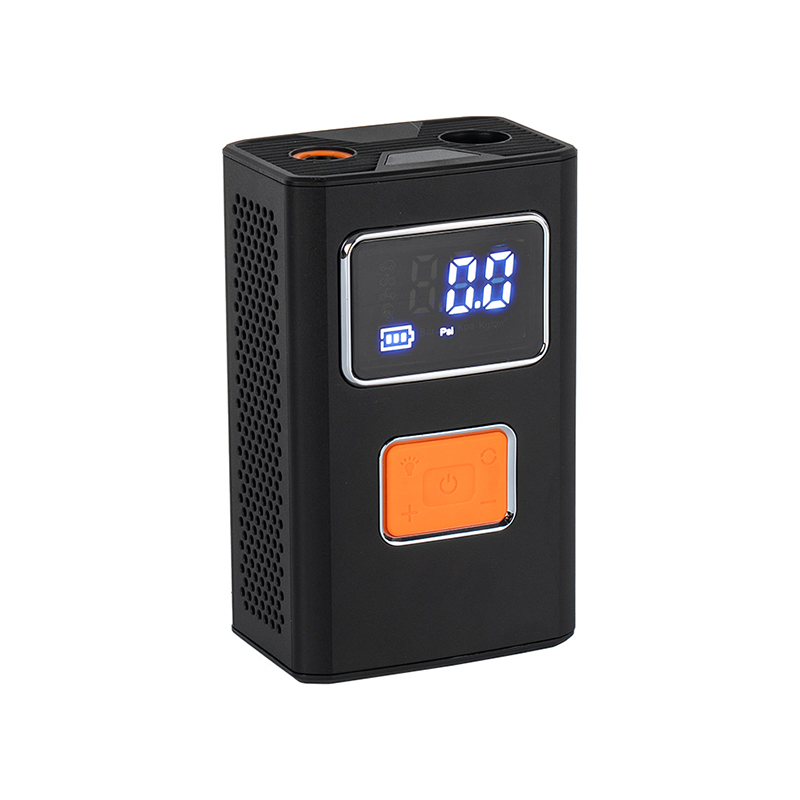
RT-606B Mini 150PSI wireless Portable Tire Inflator equipped with 18650 lithium-ion batteries, the RT-606B offers selectable capacity options of 1,800mAh x 2, 2,000mAh x 2, or 2,500mAh x 2, and suppor...
See Details -
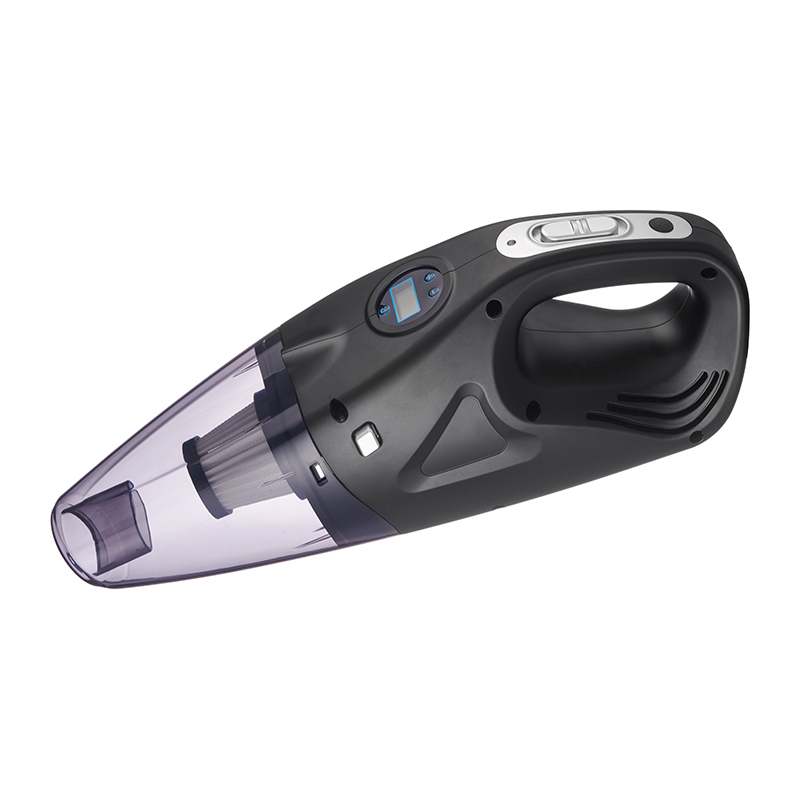
The RT-8822-S 4-in-1 Vehicle-Mounted Vacuum Cleaner—available in both cordless and corded versions—is powered by an 18650 lithium-ion battery (offering various capacity options) and operates at a 12V ...
See Details -
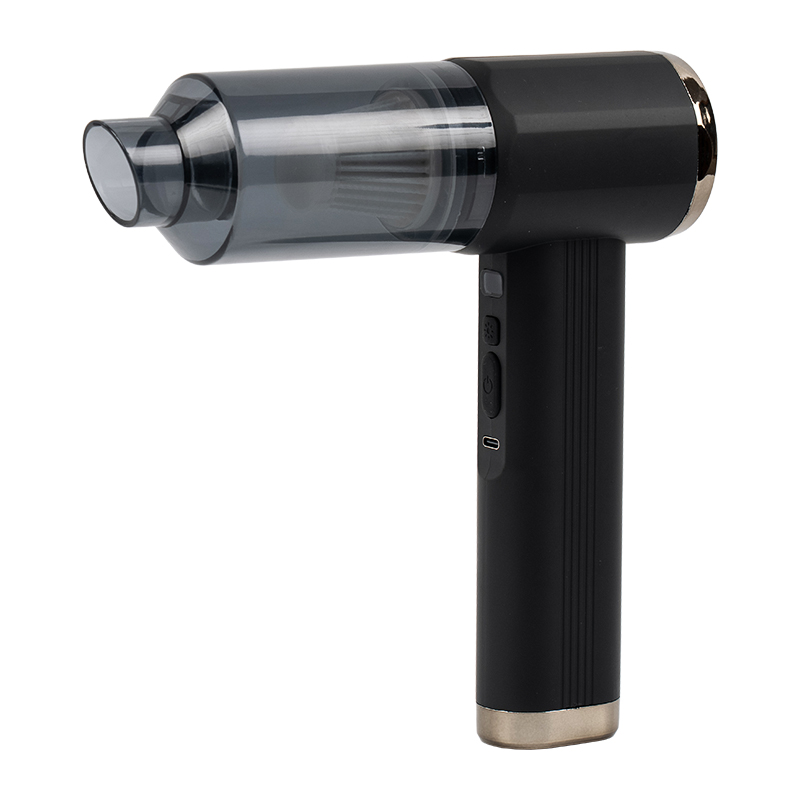
The RT-808 Portable Car Vacuum Cleaner features a brushless motor, a digital display, and an integrated dust-detection light. Powered by a 18650 lithium-ion battery pack—available in 2,000mAh x 3 or 2...
See Details -
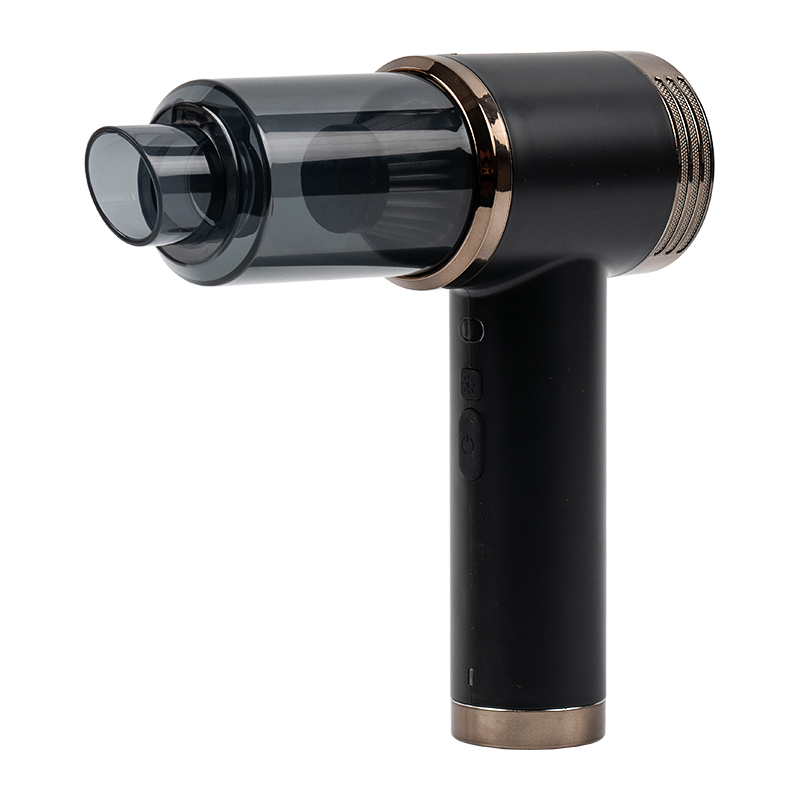
RT-807 Handhold Air Car Vacuum Cleaner Cordless Wet & Dry With Display Dust Lamp equipped with 18650 lithium-ion batteries—available in 1,800mAh x 2 or 2,000mAh x 2 configurations—this unit operat...
See Details -
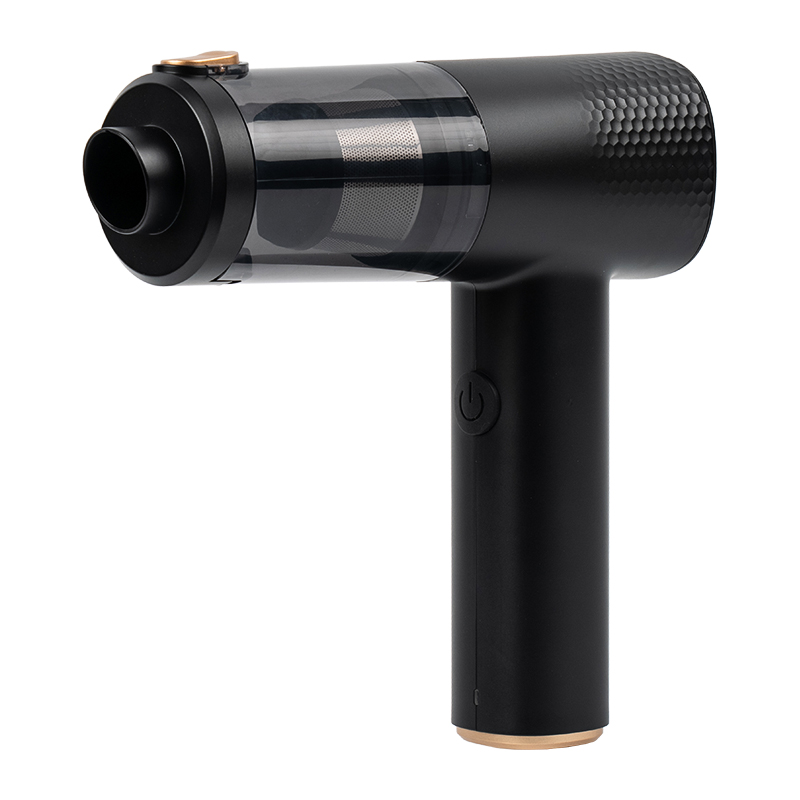
RT-806 7.4V 12600Pa Wet & Dry Car Air Vacuum Cleaner With Li-Ion Battery equipped with 18650 lithium-ion batteries (available in 1,800mAh x 2 or 2,000mAh x 2 configurations), the RT-806 operates a...
See Details
News
-
The short answer for how to clean car seats with steam cleaner equipment is this: vacuum the seats thoroughly first to ...
READ MORE -
To inflate tires at a gas station correctly: check your vehicle's recommended tire pressure from the sticker inside th...
READ MORE -
Vacuuming a car properly is not a one-pass task. If you only move the nozzle over the visible surfaces, you are leaving...
READ MORE -
How to inflate tires correctly is a routine skill that every driver eventually faces, yet it is also a task many people...
READ MORE -
At 7:20 a.m., the tire-pressure warning light comes on and you have 20 miles to drive. The nearest fuel station may hav...
READ MORE -
You open the back door after a short drive, and your dog jumps out leaving a layer of fur across the rear seat. You rea...
READ MORE
Message Us Right Now!
Get Connected
 Whatsapp
 Wechat
Copyright © Ningbo Rongteng Auto Accessories Co.,Ltd. All rights reserved.
 Custom Vehicle Tire Inflators Manufacturers