
 English
 русский
 Español
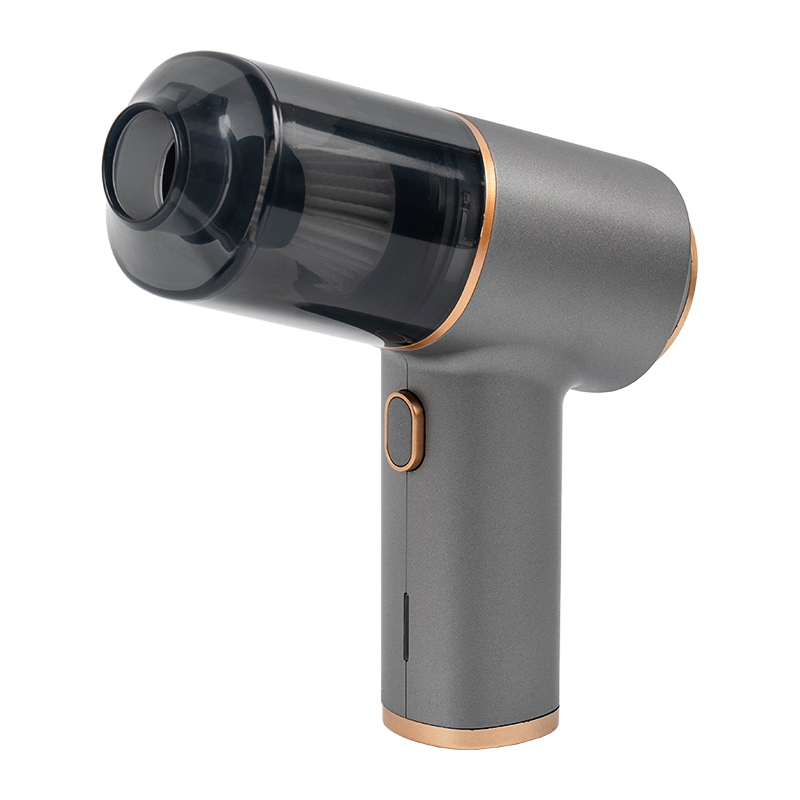
RT-8822 Mini 7.4V Handhold car portable vacuum cleaner powered by an 18650 lithium-ion battery—available in various capacity options—this unit operates at a 7.4V working voltage, ensuring stable and ...
See DetailsIndustry News 2026/09/03
How to Vacuum a Car the Right Way: Complete Steps, Tools, and Maintenance Tips
Content
- 1 What Vacuuming a Car Actually Means
- 2 The Tools You Need for a Proper Car Vacuum
- 3 Step-by-Step Guide to Vacuuming Your Car
- 4 Where Dirt Hides: The Spots Most People Miss
- 5 Choosing the Right Car Vacuum: Wired vs. Cordless
- 6 How Often Should You Vacuum Your Car?
- 7 Common Vacuuming Mistakes and Their Consequences
- 8 Buying Considerations for a Car Vacuum
Vacuuming a car properly is not a one-pass task. If you only move the nozzle over the visible surfaces, you are leaving a surprising amount of dust, crumbs, and grit behind. A correct car vacuuming routine starts with preparation, follows a specific top-to-bottom order, and uses the right attachments for seams, gaps, and upholstery. The result is not just a cleaner interior—it also helps preserve the fabric, reduce allergens, and keep your cabin odor-free. Below, we break down the full process, the tools that matter, and the standards you can use to judge whether a vacuum cleaner will actually work for your vehicle.
What Vacuuming a Car Actually Means
When you vacuum a car, you are not just picking up loose debris from the carpet. You are dealing with a compressed environment that has many different materials: fabric seats, plastic trim, rubber mats, leather upholstery, headliners, and dashboard surfaces. Each of these materials holds dust differently. Fabric traps particles deep inside its weave, while crevices collect sand and crumbs in protected compartments that a normal pass over the surface will never reach.
A professional detailing approach treats car vacuuming as a two-pronged process: first, you need to break the bond between dust and surface, and second, you need to extract that loosened material. A strong suction alone is not enough because the airflow must be paired with mechanical action and the right tool shape to actually reach the areas where dirt lives. That is why simply swiping a vacuum nozzle across the floor can leave the center console, seat rails, and even the lower edge of the pedals still wrapped in a film of fine dust.
The big conclusion here is: follow a deliberate sequence, not an improvised cleaning session. If you start at the floor, you will just kick dust up onto the seats and dash. If you skip the mats, you are removing only half of the dirt that enters the car. If you ignore crevice tools, you are leaving the most difficult soil behind. Understanding these points makes a real difference in both the time you spend and the level of clean you achieve.
The Tools You Need for a Proper Car Vacuum
Before you start, gather the items that will make the job efficient and effective. You do not need expensive equipment, but you do need the right accessories. Here is a practical list that covers a normal interior detailing session:
- A car vacuum cleaner with adequate suction and a suitable hose length. A 7.4V cordless model works for quick maintenance, while a more powerful wired or hybrid unit offers consistent energy for deeper cleaning.
- Interchangeable attachments: a crevice tool, a soft bristle brush, a wide nozzle for carpets, and a long-reach adapter for vents or seat rails.
- A compressed air gun or the vacuum versus compressed air comparison often worth reading before choosing. The air gun pushes debris out of small gaps, and the vacuum immediately captures it. If you do not have an air gun, a stiff detailing brush can serve a similar purpose.
- Floor mats extracted from the car and cleaned separately. They hold most of the large grit, and vacuuming them in place is far less effective.
- A dedicated interior brush to agitate carpet and fabric before vacuuming.
- Optional safety kit: gloves, a small flashlight or LED detail light, and a microfiber cloth for final touch-ups.
One common mistake is using a household upright vacuum inside the car. It is awkward, the hose is usually not long enough, and its brush roll often lacks the performance needed for the lower seat rails. The tool list above is intentionally simple: a purpose-built car vacuum, a few attachments, and the discipline to use each one in the right place.
Step-by-Step Guide to Vacuuming Your Car
A professional routine is predictable. Following the same order every time prevents you from missing any zone and stops dust from moving between areas. The sequence below is what a good detailer would apply on a typical sedan or SUV.
Step 1: Clear Out and Prep the Interior
Open all four doors, plus the trunk or tailgate. Remove all personal items: papers, cups, bottles, charging cables, and any loose objects. If you leave them in place, you will be vacuuming around them and still trapping dust underneath. Also remove large objects like child seats or cargo boxes because they block access to the carpet areas below. After you clear the car, slap the floor mats against a solid surface to knock out the heavy clumps of dirt. Then set them aside for a separate vacuuming pass.
Step 2: Remove Floor Mats and Clean Them Separately
Floor mats are the main entry point for mud, sand, and gravel. They collect more debris per square inch than the carpet underneath. Take them out of the car, brush them off, and vacuum them on a driveway or concrete surface. If they are rubber mats, you can even hose them down and let them dry while the interior vacuuming proceeds. If they are carpet mats, vacuum both sides and treat stubborn stains with a mild cleaner before putting them back on the floor.
Step 3: Work from Top to Bottom
Start with the headliner, then move to the dashboard, center console, front seats, rear seats, door panels, and finally the floor. The reason is simple: dust, crumbs, and lint dislodge from the ceiling and upper surfaces as you vacuum or brush them. If you clean the floor first, these particles will fall back onto the surface you already finished. By working down, you pull all debris to the bottom where you will take the final pass.
For the dashboard, use a soft brush attachment and a low suction setting to avoid scratching sensitive trim or pulling on loose buttons. For the seats, use a motorized brush if available or the sticky tape method to lift pet hair first; then vacuum with a wide nozzle. The base of the seats, the seat rails, and the area between the rear seat cushions and the backrest are common reservoirs for crumbs.
Step 4: Use a Crevice Tool for Seams and Gaps
This is the step that separates an average vacuum job from a professional one. The crevice tool is essential for every sunken edge: the narrow slots on the center console, the air vents, the seat belt anchors, the child seat LATCH anchors, the door seam rails, the gap between the rear seat and the sidewall, and the edges of the cup holders. If the vacuum has a flexible hose and a long-reach attachment, use both to reach the middle of the ac vents. Sand and fine dust accumulate in these protected zones faster than anywhere else.
Step 5: Vacuum the Floor and Trunk
After the upper surfaces are complete, move to the carpet. Use a standard wide nozzle for open floor areas, but make multiple passes in different directions: one forward and back, one side to side. This helps lift the fibers and release trapped dirt. Pay special attention to the footwells, especially on the driver side. The accelerator and brake pedals are surrounded by open areas where the carpet wears quickly, and small pieces of clay or gravel can become embedded. For the trunk, follow the same process. Lift the trunk floor panel if it is removable and vacuum the spare tire well; that area often collects moisture and dust from tires that have never been cleaned.
Step 6: Wipe Down and Detail
Once the loose debris is gone, finish the interior by wiping your hard and soft surfaces. Use a dry microfiber cloth for dust, then a lightly dampened cloth for smudges or sticky spots. This captures the fine particles that the vacuum cannot lift from plastic. You can also use an interior cleaner on the door jambs and the rubber weatherstripping. The goal is that every surface should not only be free of vacuumable debris but also brushed free of film.
Where Dirt Hides: The Spots Most People Miss
Even when you follow all the steps, certain areas of a car interior consistently get overlooked. They are not visible at first glance, but they accumulate enough dirt to create odors and reduce air quality over time. Taking a flashlight and pointing it into the nooks of the cabin will reveal the problem immediately.
- The seat tracks and the vertical side panels of the seats. These areas catch dropped coins, dust, and snack crumbs that simply disappear from the upholstery.
- Underneath the dead pedal and behind the brake pedal. Because these are hard to reach, dust and grime form a thick layer over the carpet and the rubber pad.
- The seam between the dashboard and the air vent grille. Small particles collect there because they cannot fall further down.
- The gap between the front seats and the center console. This is a no-man's land where phone cables, credit cards, and food fragments all settle together.
- The crevices at the base of the rear child seat anchors. The metal loops and fabric base create a hidden pocket that attracts hair and lint.
- Inside the seat belt adjusters on the B-pillars. Dust can even enter the slot and create a gritty sound when the belt slides through.
- The trunk hinges and the space around the spare tire cover.
When cleaning these areas, consider a vacuum that features a built-in dust lamp. It helps illuminate the work area and reveals debris that is otherwise hidden in shadow. For surfaces that collect liquids or sweat, a wet-and-dry vacuum is a practical addition because it can extract moisture before it stains the carpet or creates a musty smell. The  RT-806 Wet and Dry Car Vacuum with 12,600Pa Suction and Dual Battery OptionsThis cordless vacuum handles both dry debris and liquid spills, making it practical for families. Its high suction power and large dust bin suit thorough interior cleaning, while the included nozzles reach tight spaces and crevices.View Product → model line offers both a strong dry rating and the ability to handle a small spill, which is useful for families with young children or for anyone who regularly transports drinks.
For the most difficult dark corners, the preferred approach is to use a vacuum after blasting compressed air into the crevice. The air pushes the dirt out, and the suction immediately captures it. If compressed air is not available, a stiff brush works well. The combination of agitation and suction is what removes the soil that has bonded to the fabric over months of daily use.
Choosing the Right Car Vacuum: Wired vs. Cordless
The first question that buyers face is whether to choose a wired or a cordless car vacuum. Both have their place, and neither is universally better. The table below compares the two main categories across practical criteria that affect daily use.
| Criteria | Wired (12V DC) | Cordless (Battery) |
|---|---|---|
| Power Source | Car cigarette lighter port or fused power outlet | Built-in lithium battery, charged via USB-C or AC adapter |
| Suction Stability | Constant suction with no battery fade | Starts strong but declines as battery discharges |
| Runtime | Unlimited as long as the car is on | Usually between 12 and 30 minutes |
| Cable Handling | Requires management of a cable around the interior | No cable; free movement in tight spaces |
| Weight | Often lighter because no battery | Heavier due to battery pack |
| Best Scenario | Full interior deep clean, longer sessions | Quick spot cleaning and emergency use |
The wired route is appealing because it never loses power mid-session. With a rear seat fold-down, 12V wired vacuums can be plugged into the rear power outlet and still reach the trunk easily with a long enough cord. The cordless route gives you the freedom to move from the front seat to the back seat without anything snagging on the shift lever or the center console. For most drivers, a cordless model with a removable battery is the convenient choice, especially when you also have a portable inflator or jump starter that shares the same battery platform.
Another factor is the motor. A brushless motor is more efficient, quieter, and less prone to maintenance. It also typically produces a higher airflow per watt, which translates to better cleaning in a small form factor. The RT-808 Brushless Motor Car Vacuum with Digital Display and Dust Detection LightFeaturing a brushless motor for quieter operation and a digital display to monitor battery and suction levels, this model offers adjustable suction up to 20,000Pa. The dust lamp aids in spotting hidden debris, improving overall cleaning efficiency.View Product → model combines a brushless motor with a digital display and a dust lamp, giving you both efficiency and the ability to monitor battery or suction levels at a glance. Display screens are helpful because they remove the guesswork about remaining runtime.
For a deeper discussion of what suction numbers and filter standards actually mean when you are shopping, see this car vacuum cleaner buying guide. It covers the industry terminology that many retail listings do not explain in plain language.
How Often Should You Vacuum Your Car?
The honest answer is that it depends on how you and your passengers use the vehicle. There is a useful baseline frequency for typical urban commuters, then adjustments for each lifestyle situation. If you reinforce these intervals, you will avoid long-term accumulation that makes cleaning difficult and costly later on.
- Weekly baseline: If you drive to work and back and do not carry children or pets, a weekly vacuum pass keeps the car looking neat and prevents grit from grinding into the carpet.
- Twice a week for daily family use: Drivers with children, especially those who eat snacks in the car, should vacuum twice a week. The frequency, not the duration, is what stops recurring messes.
- After every road trip: Long highway trips generate more road dust and debris from the trunk. Vacuum the entire car after you unpack.
- After any home improvement or outdoor activity: Sand from the beach, soil from a nursery, or sawdust from a hardware store are all abrasive. They should be removed promptly, not allowed to settle into the carpet fibers.
- Seasonal thorough cleaning: Twice a year, do a complete deep clean including the trunk, seat removal if possible, and all the hidden seams. Schedule this at the start of winter and the start of summer to handle the weather-specific dirt.
Following a cadence is also mentally easier than waiting for the car to "look dirty." By the time the visible dirt is obvious, you already have a film of fine dust on the dash and a layer of grit around the seat rails. These accumulations are the reason many used cars develop a stale interior smell long before they are mechanically worn.
Common Vacuuming Mistakes and Their Consequences
Many people feel that they have been doing the same cleaning routine for years, yet they still see residue or smell odors. That happens because of a few very common errors. Each one has a direct consequence that makes the car harder to clean later.
- Mistake: Vacuuming the floor mats while they are still inside the car. Consequence: The large rocks and sand are pushed around by the nozzle, and the mat covers the underlying carpet, so you never clean the actual carpet. Instead, remove the mats and vacuum them on a hard surface.
- Mistake: Using a wet vacuum on a dry carpet without the proper extraction setting. Consequence: Moisture can soak into the carpet, causing mold and odor. A wet-and-dry vacuum should be used with the wet mode only when the liquid is on a hard or compatible surface.
- Mistake: Starting at the floor and ignoring the upper surfaces. Consequence: The dust from the headliner and seats simply settles back onto the freshly vacuumed floor. You end up repeating the same area several times.
- Mistake: Rushing through with only a wide nozzle. Consequence: Crumbs stay in the seat seams, under the pedals, and in the air vents. Over time, these crumbs attract pests and create unpleasant odors.
- Mistake: Forgetting to empty the vacuum dust bin between different parts of the car. Consequence: A full bin reduces suction, and the dust that remains inside can smell. Empty the bin before you start the trunk or before you switch from dry to wet mode.
- Mistake: Choosing a vacuum based only on peak suction number, without looking at the filter and airtightness. Consequence: Tiny particulates blow back out into the air and also clog the motor. A HEPA filter is useful for allergy-suffering drivers and for people with breathing conditions. They are not required for basic cleaning, but they make a real difference in air quality. The RT-809 Portable Car Vacuum with HEPA Filtration and Strong SuctionThis compact vacuum combines strong suction with a HEPA filter to capture fine dust and allergens. Its adjustable suction levels and large dust bin reduce frequent emptying, making it suitable for regular car maintenance and allergy-conscious users.View Product → model offers a HEPA filter in a portable wireless build, which lets you clean without carrying a bulky unit.
If you avoid these mistakes, the effort you put into vacuuming will last longer. You also reduce hand fatigue because you do not need to repeat passes constantly to cover the same spots.
Buying Considerations for a Car Vacuum
If you are looking to buy a new car vacuum, there are several objective criteria you can use to evaluate any recommended model. The interior of your car is a constrained environment, and the vacuum must work accordingly. Here is a practical checklist that covers the most important details.
- Suction power: Look for a rating in cubic feet per minute (CFM) or Pascal (Pa). A rating around 12,600 Pa is a solid reference point for a 7.4V handheld unit. Remember that the number only matters if the vacuum has an airtight seal and a well-designed nozzle path.
- Battery voltage: 7.4V batteries are common in compact units and produce enough suction for daily crumbs and dust. Higher voltage batteries, such as 12V or 18V, are usually found on more substantial vacuums and provide longer runtimes.
- Filter system: A HEPA filter captures fine particles that are important for allergy sufferers. Check whether the filter is washable, because a reusable filter saves money and maintenance time.
- Wet and dry compatibility: This allows you to vacuum small spills without being afraid of damaging the motor. If you rarely spill liquid, this is not a priority, but for daily family use it is a safety net.
- Attachments available: The more attachments included, the fewer separate tools you need to buy. Look for a crevice nozzle, a brush nozzle, and a hose that can reach the back seat from the door opening.
- Storage and portability: In the trunk, a compact vacuum takes less space. A mini size with a convenient handle will fit in a door pocket or side trunk compartment.
- Noise level: If you vacuum in a quiet neighborhood, a motor with lower decibel output is more pleasant. Brushless motors typically generate less noise than brushed motors of the same capacity.
When you are ready to narrow down your choices, you can browse our full car vacuum cleaner line. The product pages specify the voltage, suction rating, filter style, and included accessories for each model.
Keep in mind that the best vacuum is the one you will actually use. If you buy a heavy, corded machine that requires a two-step setup, you may be tempted to skip the weekly cleaning. A lightweight, ready-to-use model that is stored in the trunk is more likely to be used on a regular schedule. The goal is to make the task so low-friction that it fits into your normal routine.
Vacuuming a car correctly does not demand a professional budget or hours of time. It demands a method. With the right order, the right attachments, and the right vacuum, you can maintain a clean cabin that feels fresh every day and resists the slow buildup of dirt and odor. Use the steps and the purchase considerations above to build your routine, and choose a vacuum that matches how you actually use your car. The payoff is clear: less dust, better air, and a vehicle that holds its value just a little longer.
Let's Talk
Keep in touch with us
Related products
-
-
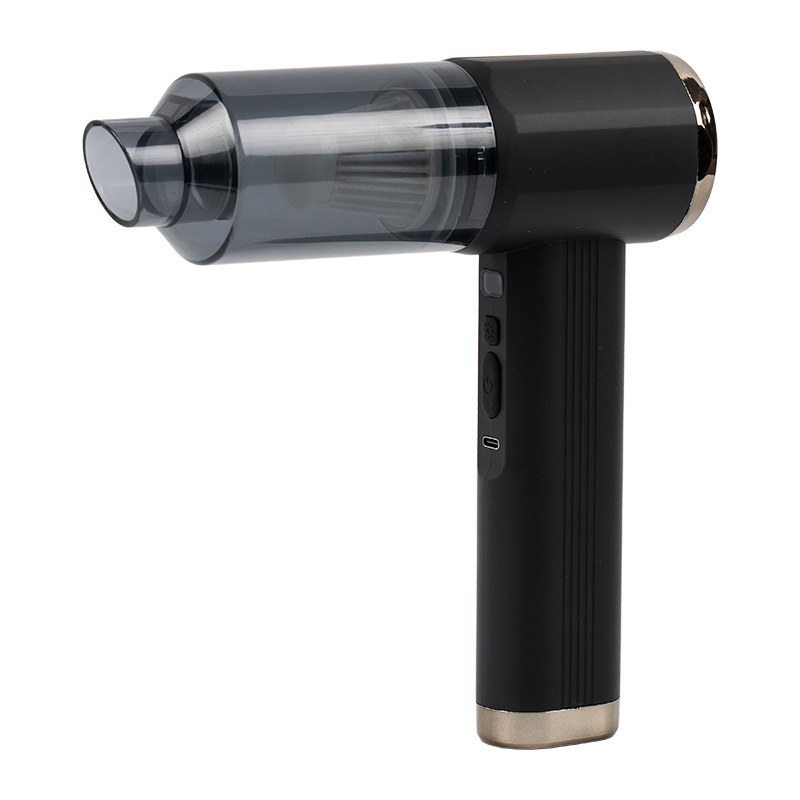
The RT-808 Portable Car Vacuum Cleaner features a brushless motor, a digital display, and an integrated dust-detection light. Powered by a 18650 lithium-ion battery pack—available in 2,000mAh x 3 or 2...
See Details -
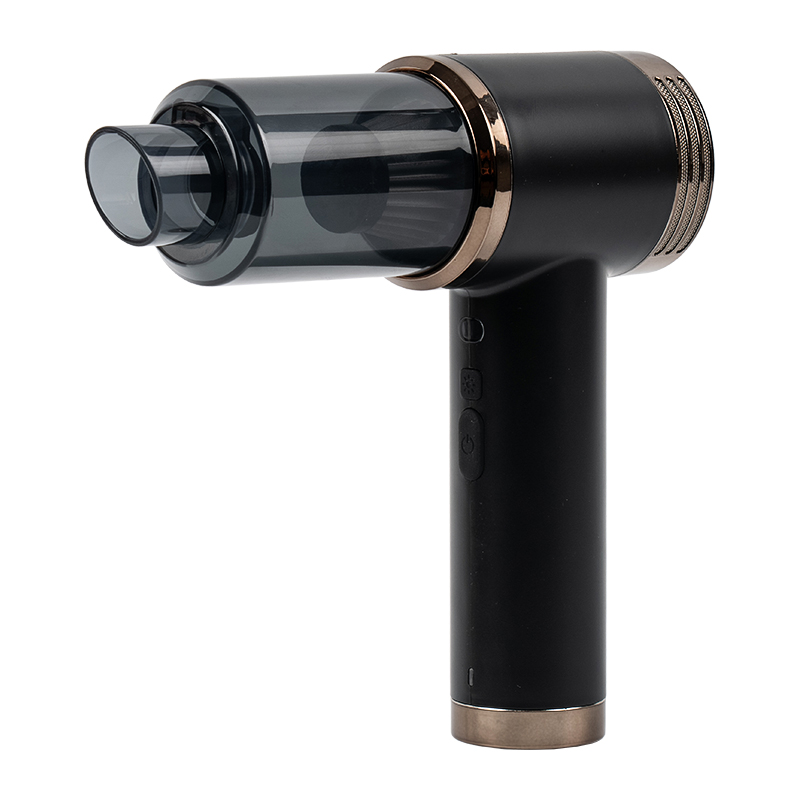
RT-807 Handhold Air Car Vacuum Cleaner Cordless Wet & Dry With Display Dust Lamp equipped with 18650 lithium-ion batteries—available in 1,800mAh x 2 or 2,000mAh x 2 configurations—this unit operat...
See Details -
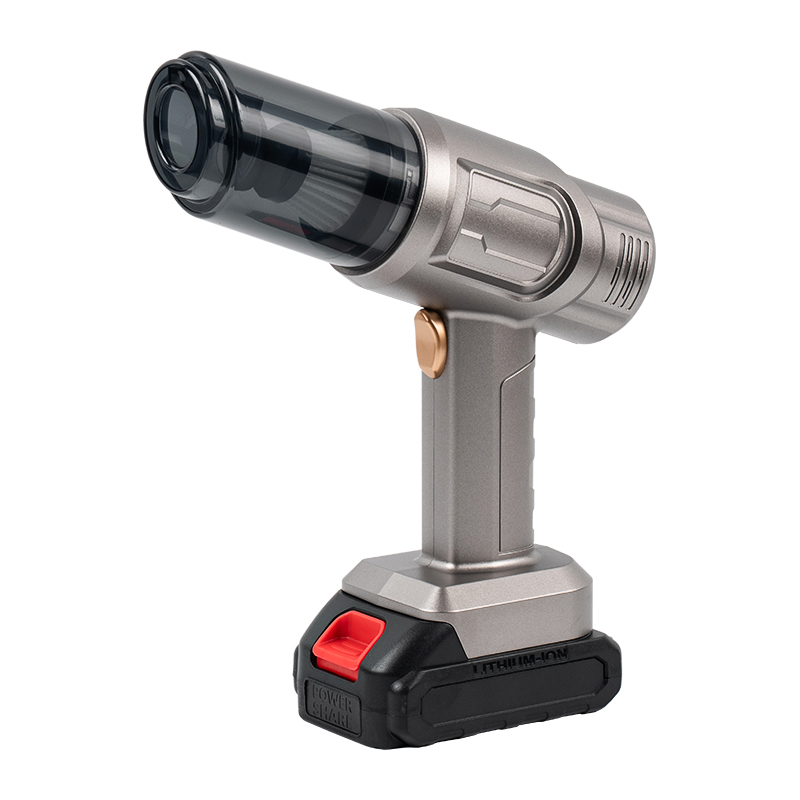
The RT-802 Handhold Vacuum Cleaner features a detachable battery design, supporting external power tool battery packs and compatible with various battery options to flexibly adapt to different usage n...
See Details -
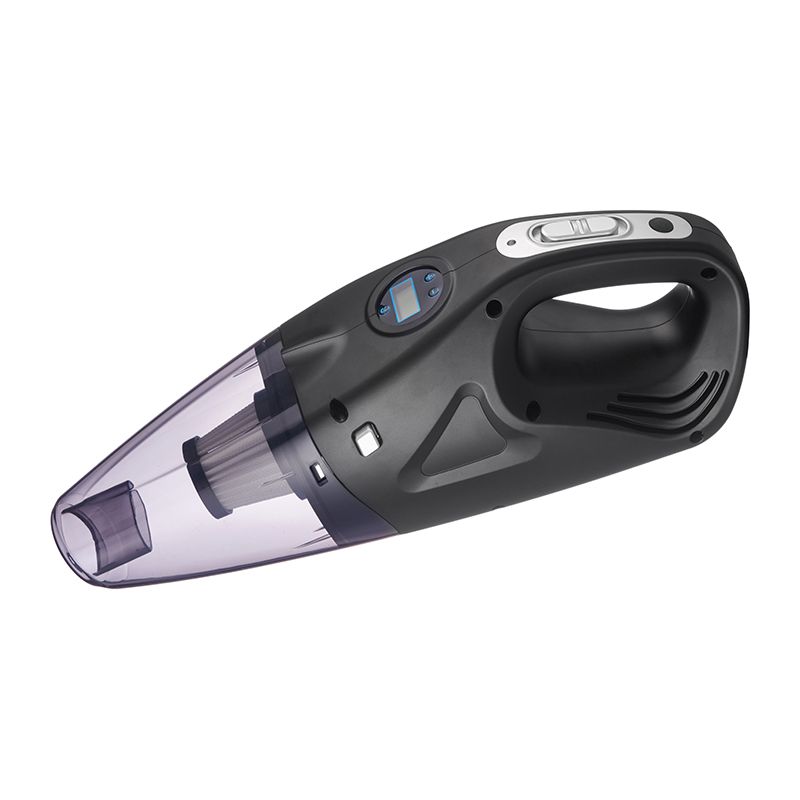
The RT-8822-S 4-in-1 Vehicle-Mounted Vacuum Cleaner—available in both cordless and corded versions—is powered by an 18650 lithium-ion battery (offering various capacity options) and operates at a 12V ...
See Details -
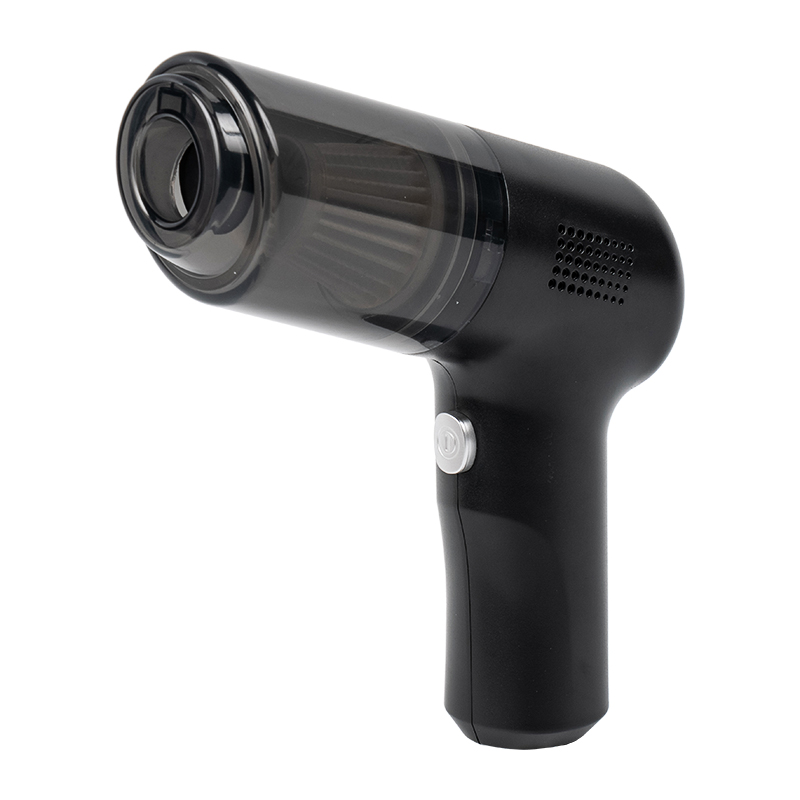
The RT-8821 Mini Vacuum Cleaner is a versatile, multi-purpose device offering both wired and wireless operation options. Featuring a lightweight and compact design, it is suitable for a wide variety o...
See Details
News
-
You open the back door after a short drive, and your dog jumps out leaving a layer of fur across the rear seat. You rea...
READ MORE -
The short answer for how to clean car seats with steam cleaner equipment is this: vacuum the seats thoroughly first to ...
READ MORE -
How to inflate tires correctly is a routine skill that every driver eventually faces, yet it is also a task many people...
READ MORE -
You bought a compact 12V car vacuum cleaner to keep under the seat of your SUV. It handles coffee spills, crushed crack...
READ MORE -
You have just finished vacuuming the car with a 12V vacuum cleaner plugged into the cigarette-lighter socket. The floor...
READ MORE -
Two handheld vacuums sit on the same workbench. One is a 7.4 V cordless unit rated at 12,600 Pa with a washable filter ...
READ MORE
Message Us Right Now!
Get Connected
 Whatsapp
 Wechat
Copyright © Ningbo Rongteng Auto Accessories Co.,Ltd. All rights reserved.
 Custom Vehicle Tire Inflators Manufacturers
Exhibition Name: Automechanika Shanghai 2026
Date: December 2 to 5, 2026
Location: National Exhibition and Convention Center (Shanghai)
Booth Number: 1.2B96